The Beauty of Tweed or How to Knit Your Favourite Sweater (knitting pattern)
-
")
It's always good to have a favorite sweater. The best sweater looks weel in all situations: it makes us look stylish, the color suits us and goes well with other clothes we have. It is simple to knit it, you don't need to know the complicated technique of creating such knitting. We like our favorite sweater because it is simple.
Merino Tweed yarn was last year's huge hit new item and I immediately put it on my knitting list, but it took almost a year to complete the other knits and dive into the wonderful world of tweed buds.
The color palette of this tweed yarn is really rich, which is good and not :) It's great that fans of various color tones have something to choose from. But at the same time, with a large selection, we often get confused and want a variety of colors at once. Of course, it's possible to combine multiple shades perfectly in one knit, but this time I wanted to choose THAT single most amazing color. After a bit of confusion between pink, white and dark brown shades, I quickly decided that pink would be the right choice. The soft delicate tone is perfect with a white blouse or a summer t-shirt, it goes well with jeans and gives us a charming femininity. In addition, various tweed buds twinkled quite clearly in the pink balls, and the more of them I have in a yarn thread, the more interesting it is to knit.
Features of Merino Tweed yarn
Pattern. Merino Tweed can be used to knit quite a variety of patterns and they look quite good. But for me, tweed is always the most beautiful knitted simple: just knit on the good side and purl on other side. It seems that knitting this way nothing unnecessarily distracts attention and tweed yarn reveal their best qualities to us.
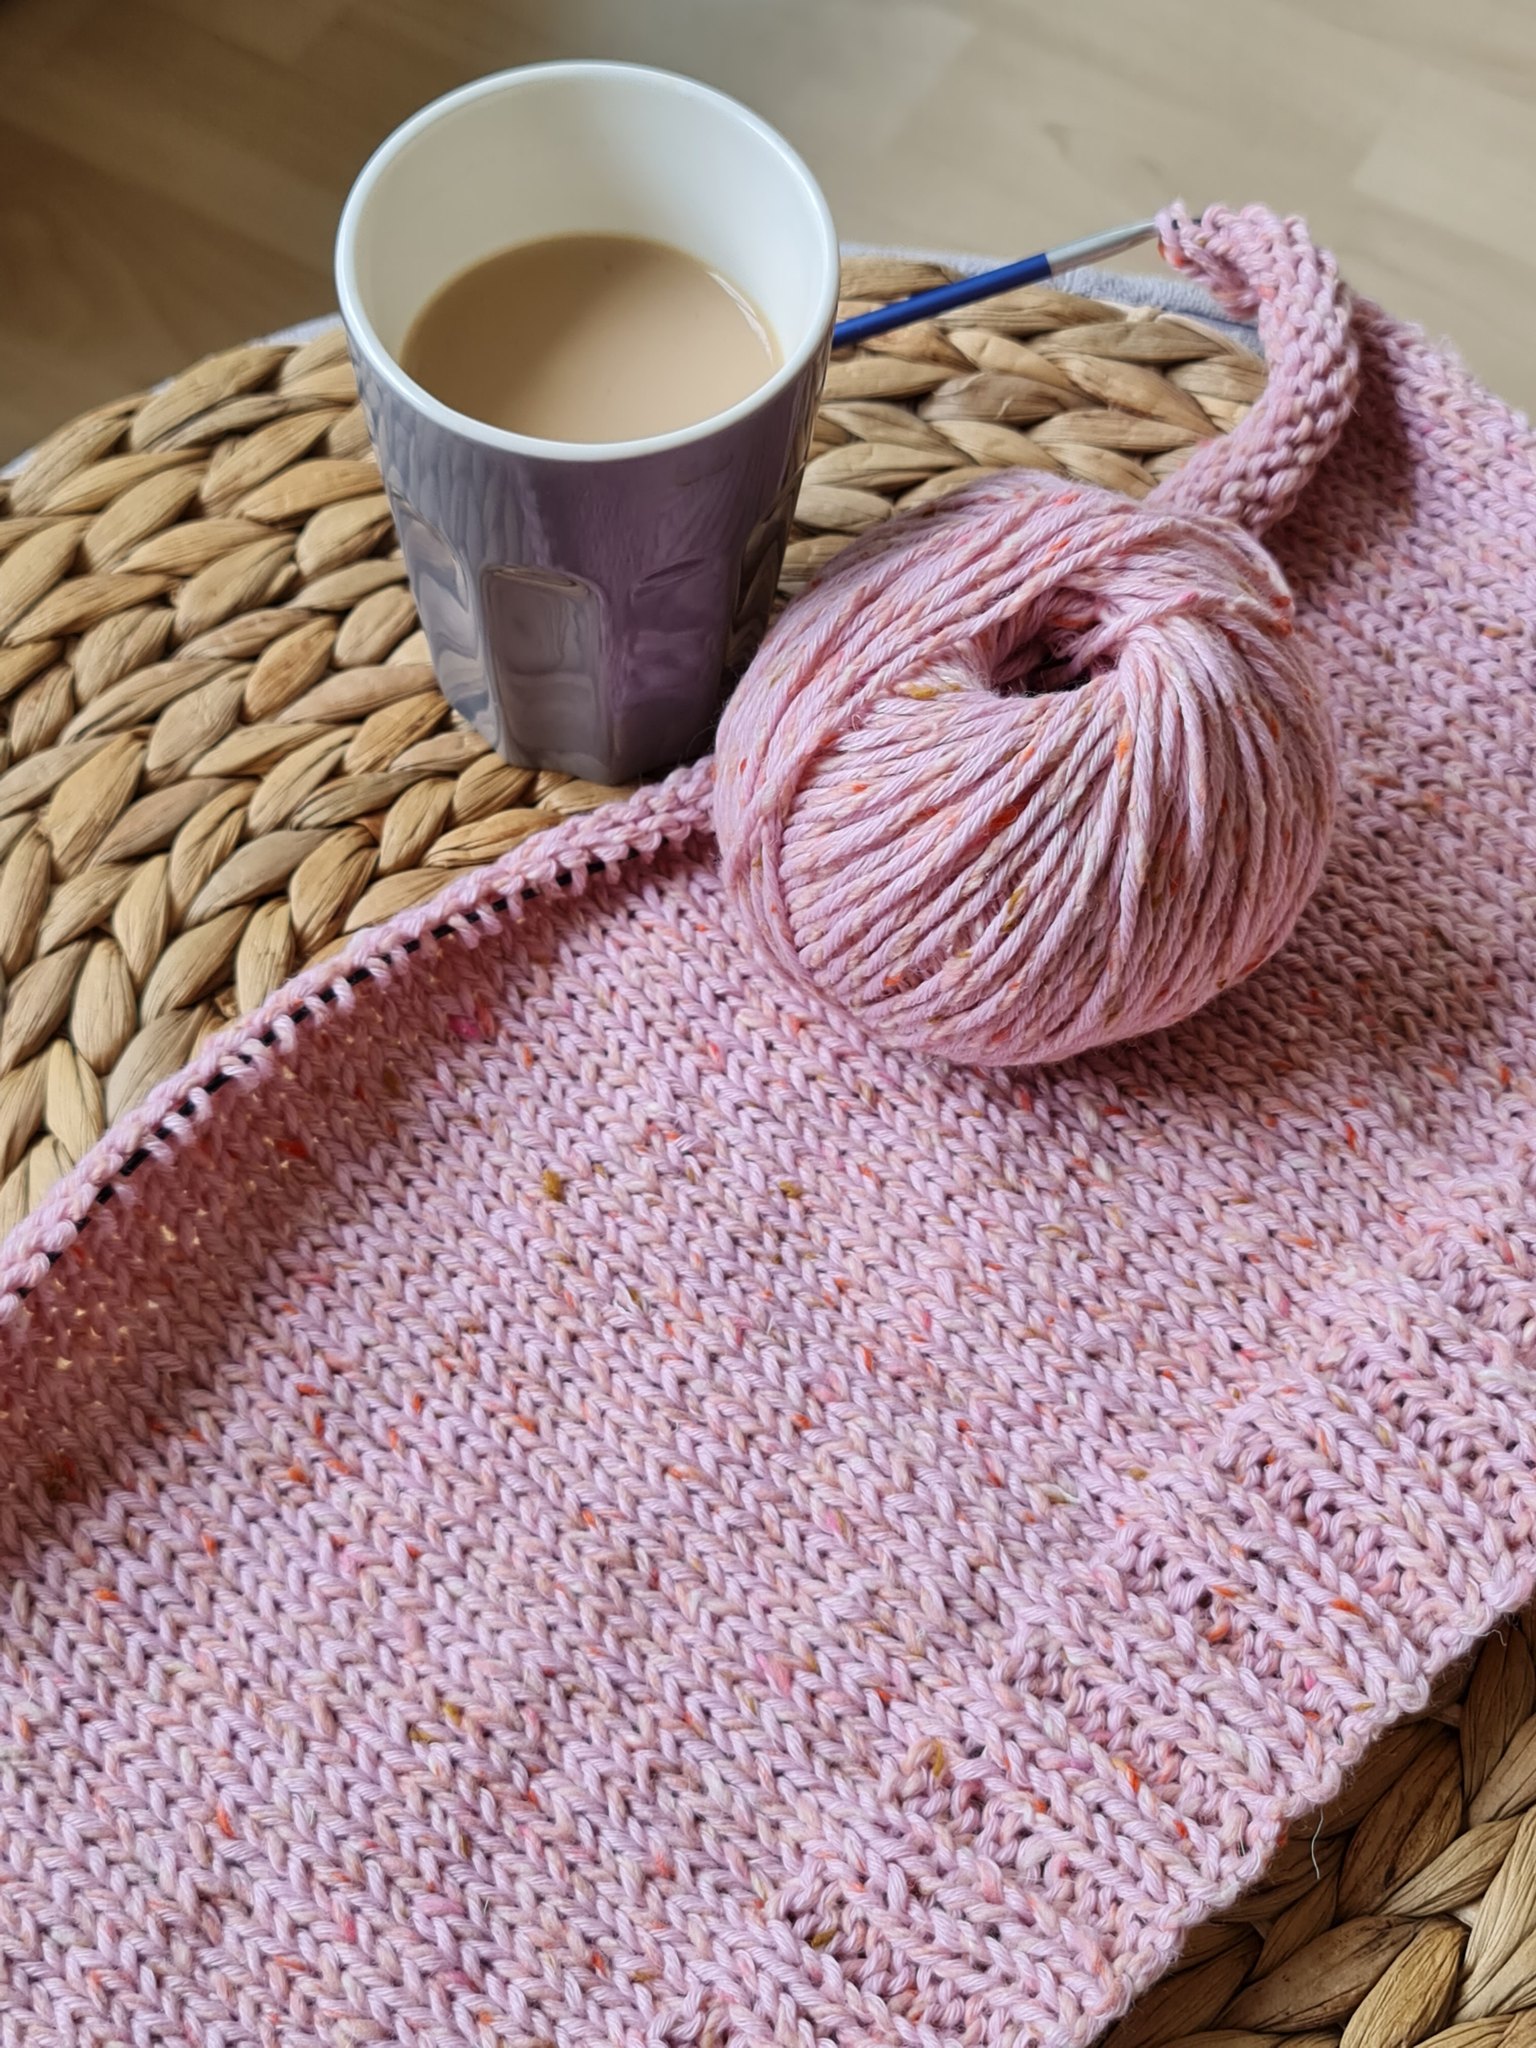 (Not)roughness. These tweed yarns are not smooth, full of texture and create a really stylish knit with a slightly rough surface. Wondering if they could be worn close to skin... the yarn itself is quite gentle, but the slightly rough surface can really "tick" more sensitive people, so if you're very sensitive to some yarn, this yarn might not work for you.
Needles. I used 4.5 mm needles for knitting, although several customers have said that they knit with 5 mm and the knitting was perfect. Therefore, here everyone should try several thicknesses and adjust the needles according to the hardness/looseness of their knitting and the project itself: we can knit the scarf looser, but it would be advisable to knit the sweater a little tighter so that it retains its original shape better after washing. Since I knit more loosely, 4.5 mm needles were just right for me.
Quantity. One thing that pleasantly surprised me was the amount of yarn. When I started knitting, I really thought that I would need at least 12 balls due to the not very large gauge, and in the end, 10 balls was absolutely enough for my looser M (size 38 - 40) sweater! So the yarn yield is excellent, and considering the very attractive price of the yarn, you can knit a very stylish sweater with a good composition even with a smaller budget.
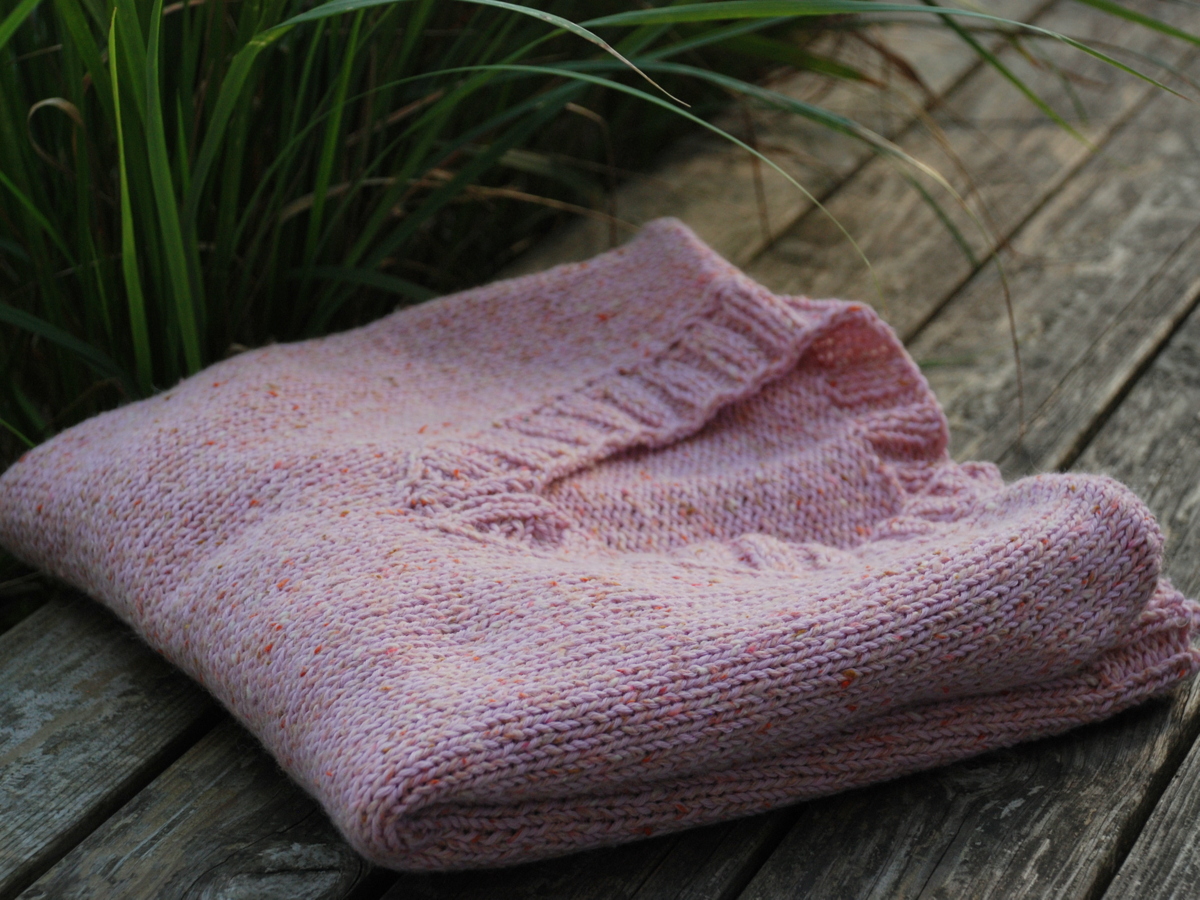
Knitworks. You can realize endless ideas with these yarns: hats, scarves, vests, sweaters, lighter outdoor sweaters or warm autumn weather coats for children will look great. This thread is obviously too thick for elegant dresses, but if you want to have a bulkier loose style warm dress or tunic in your wardrobe this autumn, then this tweed will suit you perfectly. I especially like classic sweaters, which go well with jeans or any other pants and become a special garment precisely because of the beauty they offer.
How to knit a classic sweater from Merino Tweed yarn
I am not a professional creator of knitting patterns. However, I really hope that for those of you who want a tweed sweater, this stitch counting and minimal explanation will make the creation process easier and allow you to enjoy the sweater of your dreams sooner. If there are any doubts, write me info@siltassiulas.lt, ask and let's knit together :)
I usually wear M or size 38 clothes, because this time I wanted a slightly more massive and looser sweater, the number of stitches can also be used by those who wear a slightly larger size.
Back part of the sweater
A classic sweater with a V-neckline and set sleeves, knitted in separate sections, which are then sewn together.
Needles 4.5 mm.
Knitting density 10 x 10 cm = 16 stitches x 24 rows.
We cast on 82 stitches, knit 10 rows in 2x2 rib stitch (two knit, two purl), and then knit 90 rows completely straight in simple flat knitting (knit stitches from the right side, purl from the wrong side).
Armpits on the back
I made 9 stitches for the armpits and bind off the stitches as follows (only describing the right side of the knitting. We do the same on the left side):
- bind off first 2 st while knitting forward at the beginning of the row;
- bind off last 1 st at the end of the row: knit together the last two stitches of the row. Turn the knitting.
- bind off first 2 st while knitting forward at the beginning of the row;
- bind off last 1 st at the end of the row: knit together the last two stitches of the row. Turn the knitting.
- bind off first 1 st while knitting forward at the beginning of the row;
- bind off last 1 st at the end of the row: knit together the last two stitches of the row. Turn the knitting.
- bind off first 1 st while knitting forward at the beginning of the row;
After binding off stitches from both armpits, 64 stitches are left on the needles. We knit straight until a total of 133 rows are knitted from the beginning.
Neckline and finishing of the back part
We count 19 and 19 stitches for the shoulders and 26 stitches for the neckline. When knitting row 134 on the wrong side, we divide the knitting in two sides. We collect 19 stitches of one shoulder and half of the neck stitches (13) and leave it alone and finish the knitting row with the wrong side.
Now we let's cast off the right shoulder and half of the neck:
- bind off 5 st at the beginning of the row, knit to the end of this half part. Turn the knitting;
- this time we knit the neck stitches without binding off, and at the end of the row (where our shoulder is), we bind off 1 st knitting the last two stitches together. Turn the knitting;
- bind off 5 st at the beginning of the row, knit to the end of this half part. Turn the knitting;
- now we bind off 5 neck stitches, and at the end of the row (where our shoulder is), we bind off 1 st knitting the last two stitches together. Turn the knitting;
- bind off all the remaining eyes of the shoulder. We turn the knitting.
- bind off the remaining 8 stitches of the neck, and cut the thread and make that the knitting does not unravel.
 Of course, you can knit all the eyes in the most convenient way for you, this is only an indicative number of stitches and my recommended method, which suits me.
 Front part of the sweater
When knitting with set sleeves, always cast on a little more stitches for the front part, because our back is flatter than our front (belly). So if we ant the front of the knitwear to look good and suit well, it should be slightly wider than the back part up to the armpits. After doing this, in the armpits in the front you have to bind off more with those extra casted on stitches, because the width of the back and front parts from the armpit to the end of the knitting must already match.
So we cast on 88 stitches for the front (3 stitches more on each side).
We knit 10 rows in 2x2 rib stitch (two knit, two purl). Knit 81 knit from right side and purl from the other side.
"V" neckline. While knitting the 82nd row, as we did on the back, here also we divide the knitting in two equal parts and begin to bind off the neck. We're doing this a little before we start binding off the armholes, as I wanted to have a deeper V-neck in the front and knit later with larger 2x2 rid stitchs. We have 13 stitches on one side of the neckline (as in the back) and we need to bind off them evenly until we finish binding off the shoulder. In this case, on the right side of the neckline, I binded off by knitting together the 2 penultimate stitches at the end of the row with a bias to the right. So when working the V-neck of this sweater, the first two times, bind off one neck stitch in each row, and then decrease the neck stitches every second row:
- (83rd row) we knit forward, bind off by knitting together 2 penultimate stitches at the end of the row, turn the knitting, return with the wrong side back, turn the knitting;
- (85th row) we knit forward, bind off by knitting together 2 penultimate stitches at the end of the row, turn the knitting, return with the wrong side back, turn the knitting;
- (87th row) we knit forward, knit all the stitches, turn the knitting, return with the wrong side back, turn the knitting;
- (89th row) we knit forward, bind off by knitting together 2 penultimate stitches at the end of the row, turn the knitting, return with the wrong side back, turn the knitting;
- (91st row) at the beginning of this row, we already start binding off the front right armpit, knit forward, knit all the eyes, turn the knitting, return with the wrong side back, turn the knitting; and we continue to knit the neck stitches in every second row forward until we drop all 13 stitches.
As in the back, after knitting 90 rows straight from the end of 2x2 rib, we will have to lower the armpit eyes. We already have 12 stitches in the front for the armpits (because there should be 9 stitches in the back, we added 3 stitches each (9+3=12 stitches) to have a slightly wider part of the knitted front.
Armpits in front
We bind off the armpit as follows (describing only the right side of the knitting. We do the same on the left side):
- bind off first 2 st while knitting forward at the beginning of the row;
- bind off last 1 st at the end of the row: knit together the last two stitches of the row. Turn the knitting.
- bind off first 2 st while knitting forward at the beginning of the row;
- bind off last 1 st at the end of the row: knit together the last two stitches of the row. Turn the knitting.
- bind off first 1 st while knitting forward at the beginning of the row;
- bind off last 1 st at the end of the row: knit together the last two stitches of the row. Turn the knitting.
- bind off first 1 st while knitting forward at the beginning of the row;
- bind off last 1 st at the end of the row: knit together the last two stitches of the row. Turn the knitting.
- bind off first 1 st while knitting forward at the beginning of the row;
- bind off last 1 st at the end of the row: knit together the last two stitches of the row. Turn the knitting.
 Further, the number of rows up to the shoulder and the lowering of the shoulder itself is exactly the same as described for the back part.
 Set sleeve
We cast on 36 stitches for the sleeve. We knit 10 rows in 2x2 rib stitch (two knit, two purl). Then we start spreading the sleeve by adding stitches on each side of the sleeve. In total up to the armpit we add 10 stitches on each side (10 st on the right and 10 st on the left side) of the sleeve, so when we finish spreading we have a total of 56 stitches on the needles. What should be the length of the sleeve depends on what you want, how long you like the sleeves. My sleeves are approximately 44-45 cm long from the beginning to the armpit.
The head of the set sleeve
When knitting the head of the sleeve, it is important to lower the eyes very slowly, without knitting a deep cut in the armpit, because then the knitting will not be comfortable to wear. Therefore, if you want a comfortable set sleeve, we knit the head in the armpit part as follows:
- bind off first 2 st while knitting forward at the beginning of the row;
- bind off last 1 st at the end of the row: purl together the last two stitches of the row. Turn the knitting.
- bind off first 1 st while knitting forward at the beginning of the row;
- when we return with the wrong side, we purl absolutely all stitches. We turn the knitting.
- we knit forward all stitches.
- bind off last 1 st at the end of the row: purl together the last two stitches of the row. Turn the knitting.
- we knit forward all stitches.
- bind off last 1 st at the end of the row: prul together the last two stitches of the row. Turn the knitting.
- we knit forward all stitche.
Repeat the same "rhythmn" from both sides until there are 24 stitches left on the needles. We do not forget that we do the same symmetrically on both sides of the knitted piece.
The head of the set sleeve: the shoulder part:
- when 24 stitches are left on the needles, bind off 1 st (purl together to last st of the row). We turn the knitting.
- bind off 4 st knitting forward;
- bind off last 1 st at the end of the row: purl together the last two stitches of the row. Turn the knitting.
- bind off 3 st knitting forward;
- purl all stitches. Turn the knitting;
- bind off all stitches left on the needles, cut the yarn.
- The entire sleeve is complete.
We knit the second sleeve just as successfully.
We sew all part of the knitwear. Then collect the stitches of the neckline and knit the decoration 2x2 rib of the neck. Your favorite sweater is finished! You can wash it or just iron it with strong steam. And then dress up, impress others and enjoy the autumn :)
Choose your favorite Merino Tweed color here.
Sincerely,
Milda
© All rights reserved. Text and/or graphic information on this website may not be copied and/or distributed in any way without the prior consent of Milda Gokiene. If consent has been obtained, using the information on this website, it is necessary to indicate the website www.siltassiulas.lt as the source of such information.
")
")
")
")
")
")
")
")
")

